


This guide walks you through setting up a VPN connection on Windows using the SoftEther VPN Client. Follow the steps to install the client, create a new VPN connection, and verify that your setup works correctly.

Step 1: Download and Install SoftEther VPN Client
-
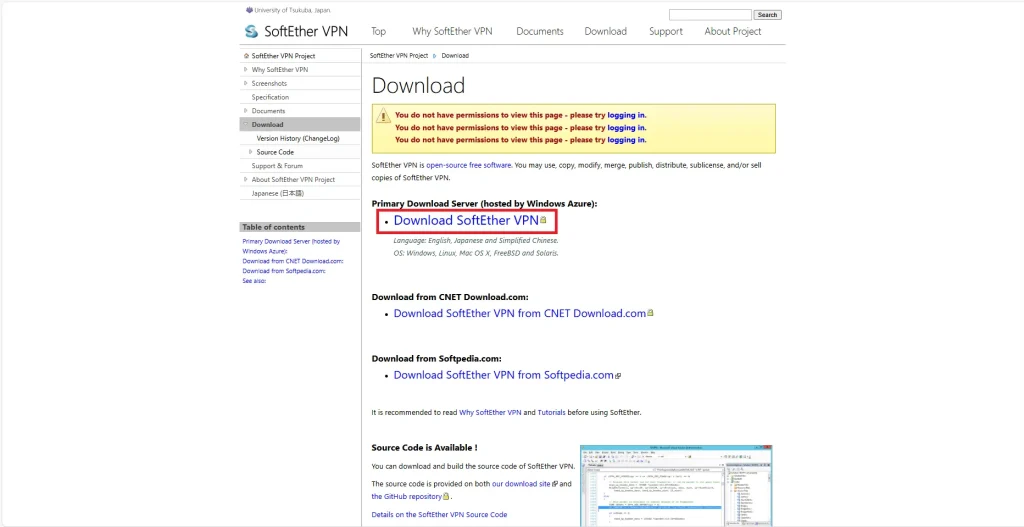
- Open your browser and go to the official SoftEther VPN website.
- Click “Download”, then select “Download SoftEther VPN”.

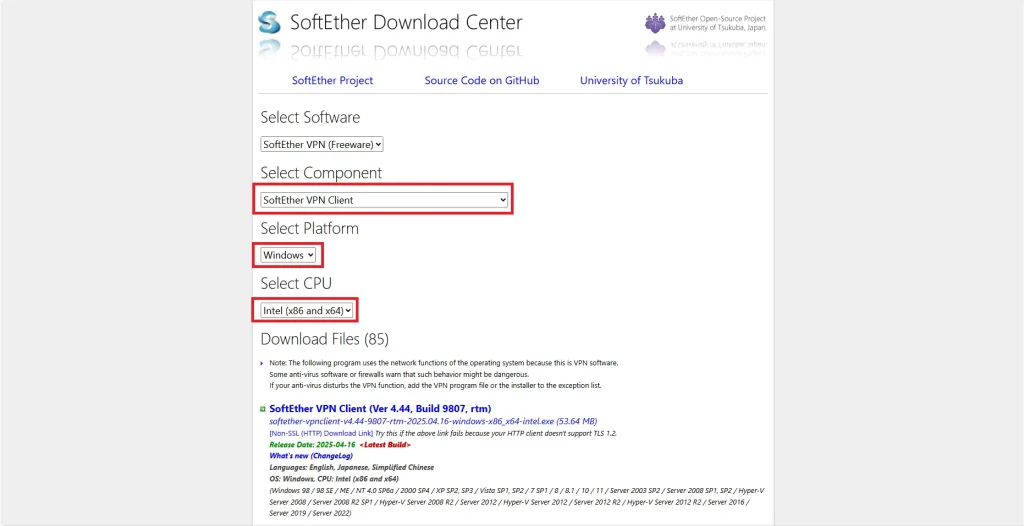
- Under “Components”, choose SoftEther VPN Client.
- For the platform, select Windows, and for the CPU type, choose Intel.
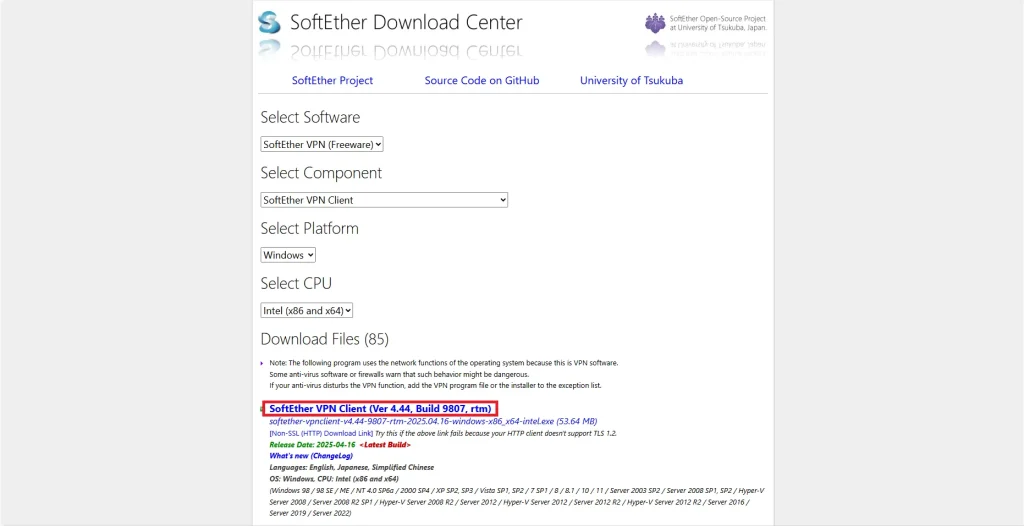
- From the list of files, click the latest version marked “rtm” to begin the download.
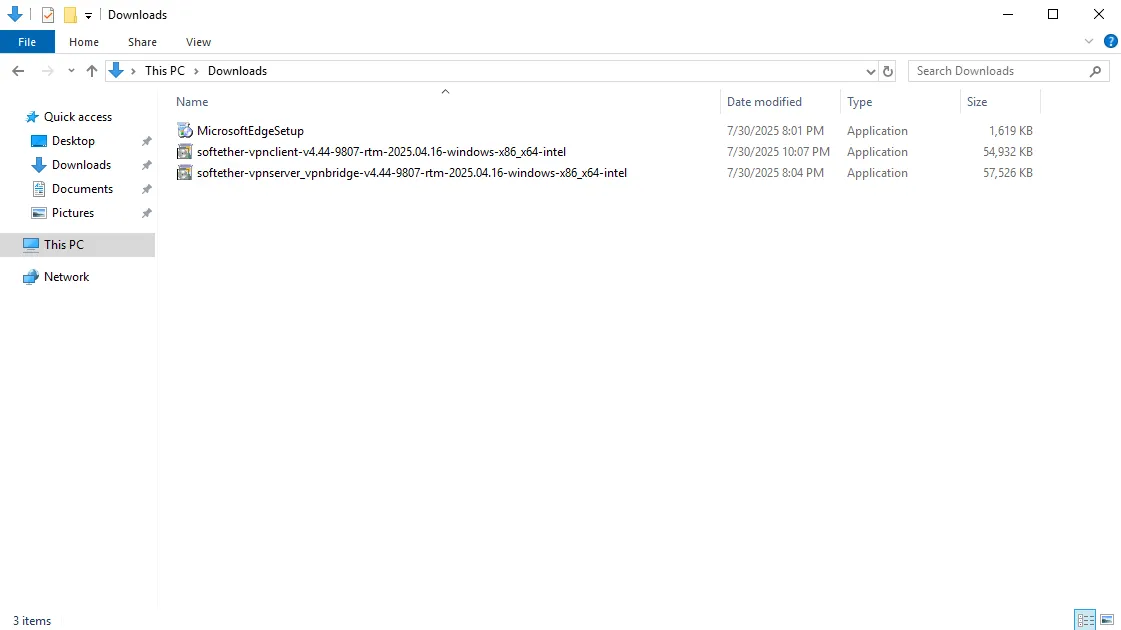
- Once downloaded, double-click the installer to launch it.
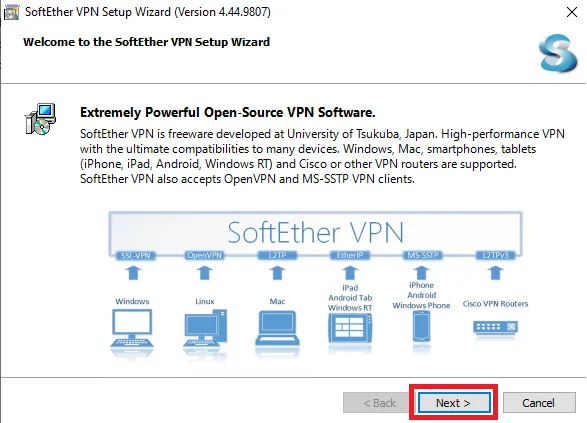
- When the setup wizard appears, click Next.
- When prompted to select the software to install, choose SoftEther VPN Client.
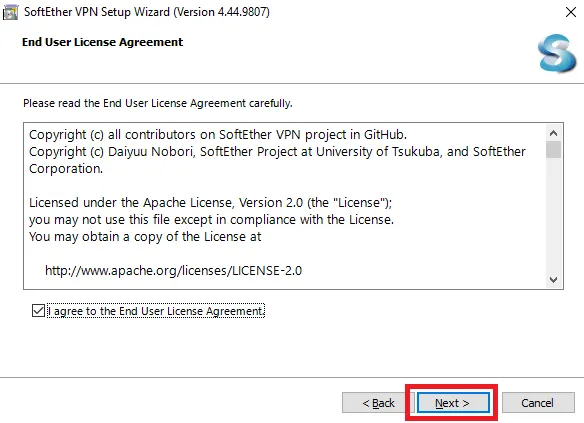
- Accept the license agreement, then click Next.
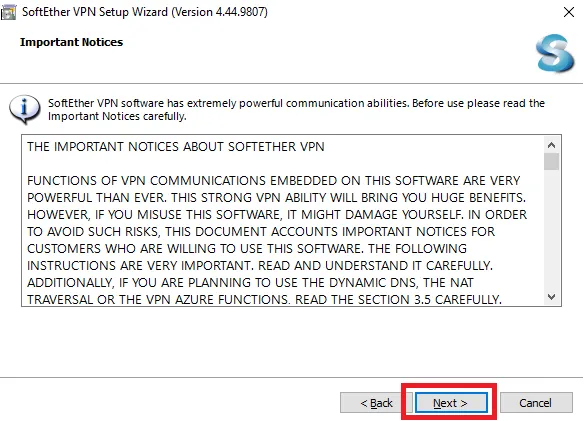
- Review the important notice, then click Next again.
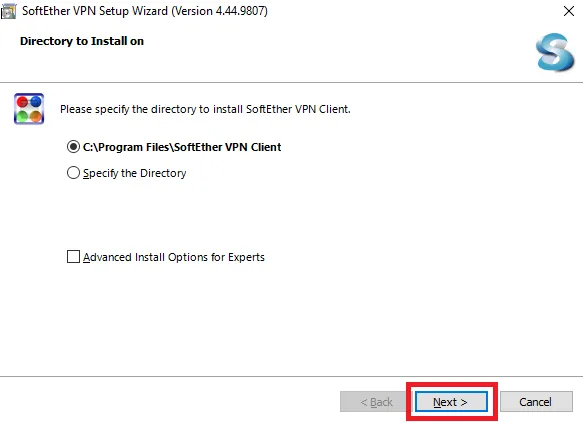
- Specify the installation directory, then click Next to continue.
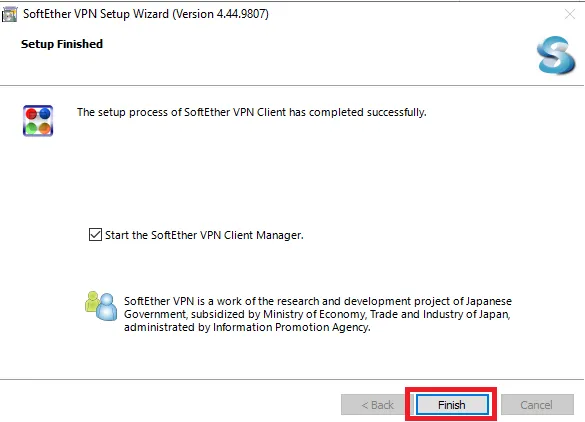
- After installation completes, ensure the box to launch the VPN Client Manager is checked, and click Finish.
- The VPN Client Manager will now open automatically.


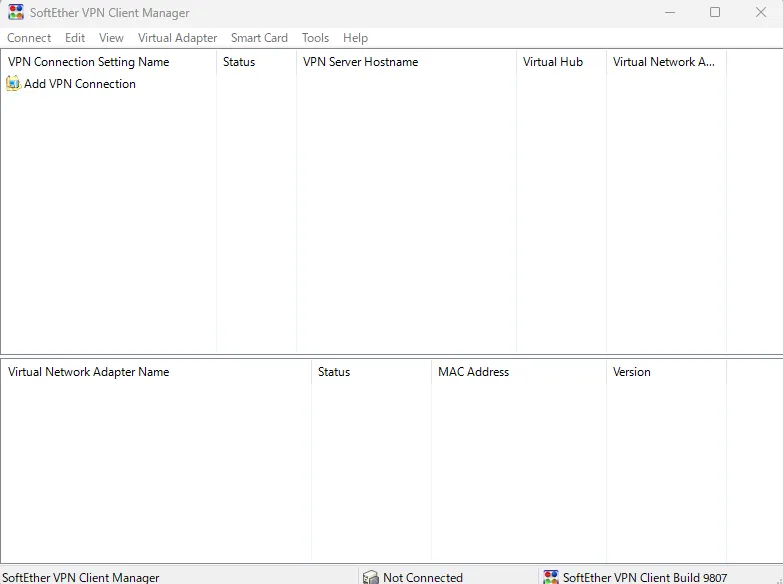
Step 2: Create a Virtual Network Adapter
-
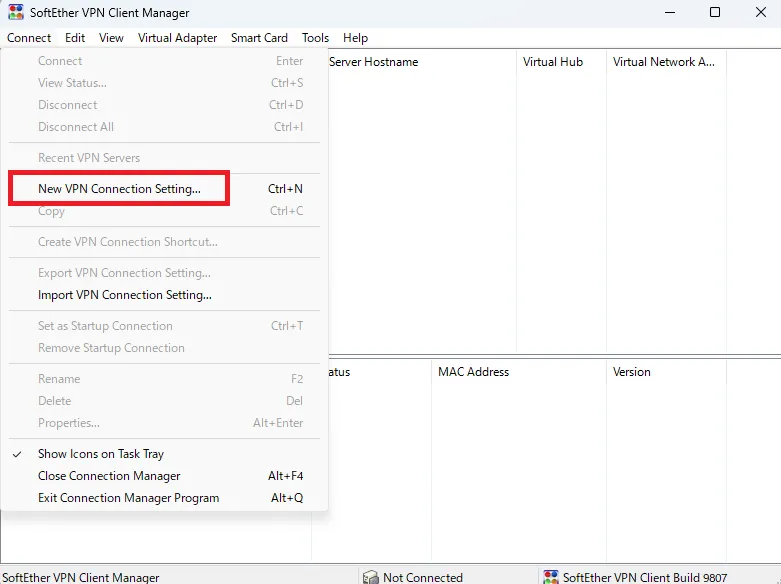
- From the menu, click Connect, then select New VPN Connection Setting.
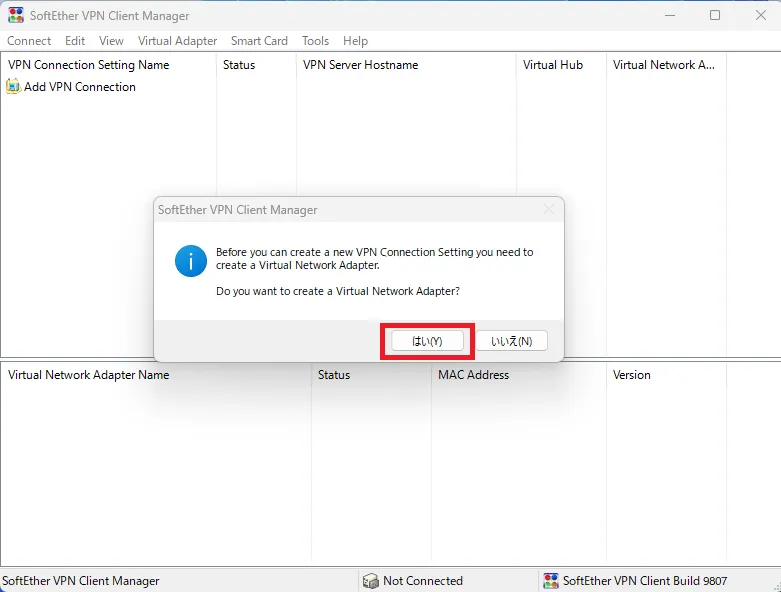
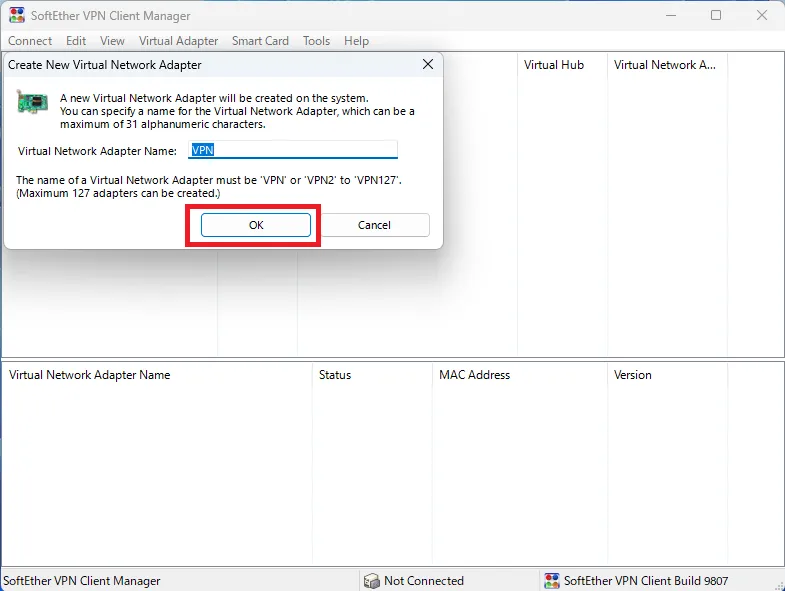
- When the dialog asks “Do you want to create a Virtual Network Adapter?”, click Yes.
- Leave the adapter name as “VPN”, and click OK.
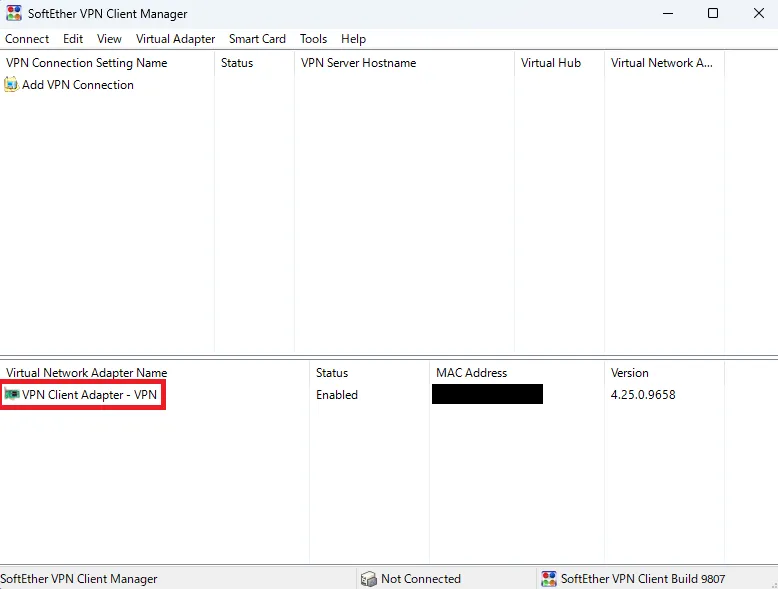
- The virtual network adapter has now been created.
- From the menu, click Connect, then select New VPN Connection Setting.
Step 3: Configure a New VPN Connection
-
- Double-click New VPN Connection Setting again.
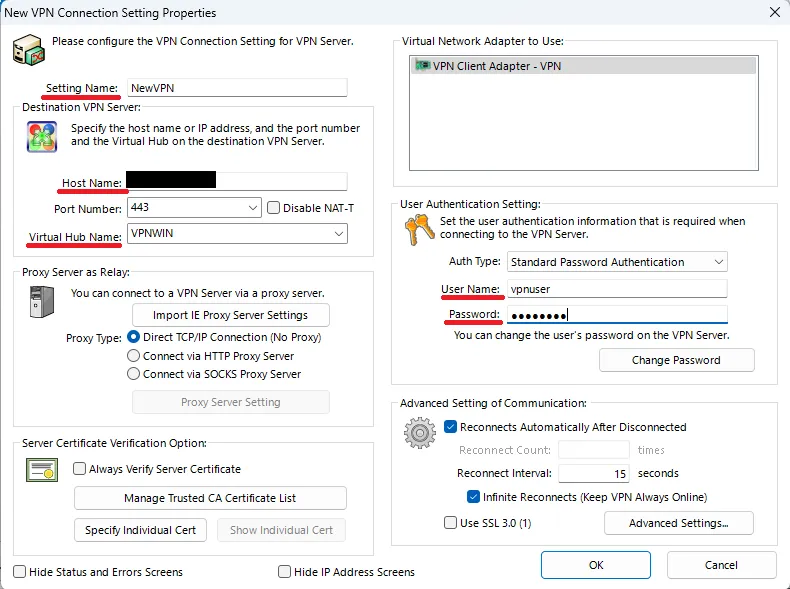
- When the properties window appears, fill in the connection details according to your server settings:
- Setting Name: Any label you prefer
- HostName: Global IP address of the VPS server
- Virtual HUB Name: Virtual HUB name provided by your provider
- User Name: Provided username
- Password: Provided password
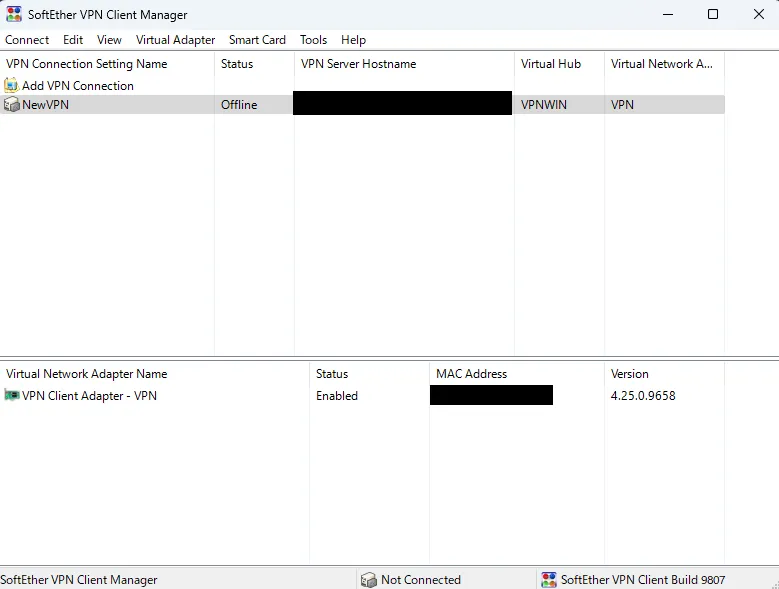
- Click OK to save the settings.
If your organization needs a more advanced, always-on connection between your office network and a Japan-based VPS, consider setting up a site-to-site VPN instead of only using a client VPN.

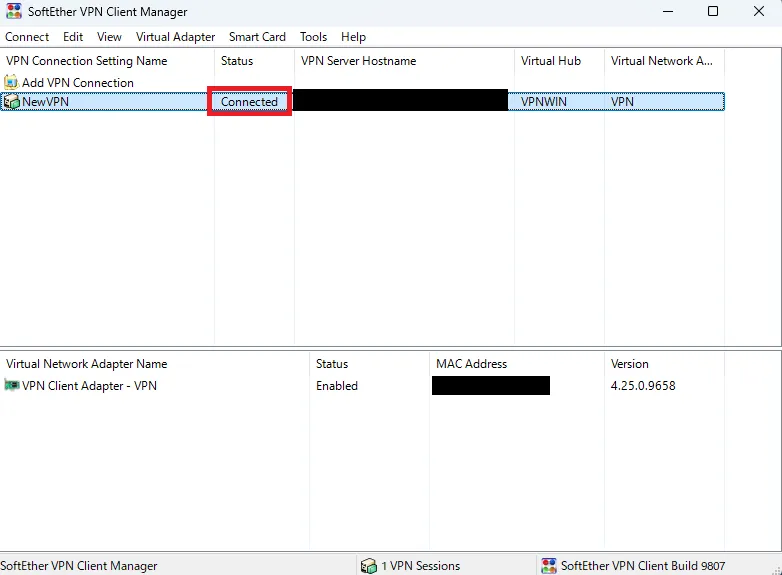
Step 4: Connect to the VPN
-
- Double-click the registered connection name.
- Once connected, your client PC will receive an IP address via DHCP from the VPN server.
- Double-click the registered connection name.
Step 5: Verify the Connection
-
-
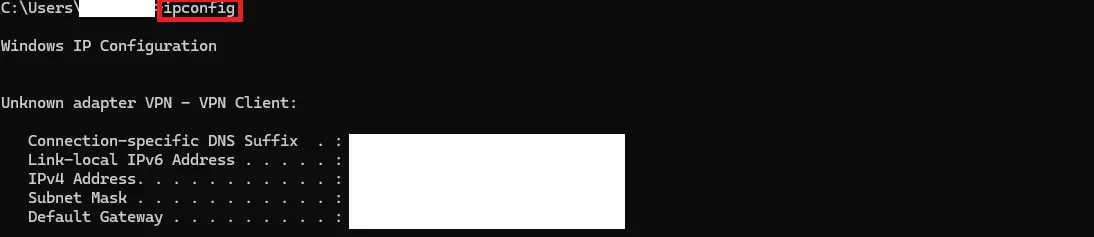
- Open Command Prompt.
- Run the following command:
ipconfig
- Look for a network adapter named “VPN Client Adapter – VPN”.
- If you see a valid IP address assigned from the VPN server, the connection is successful.
-
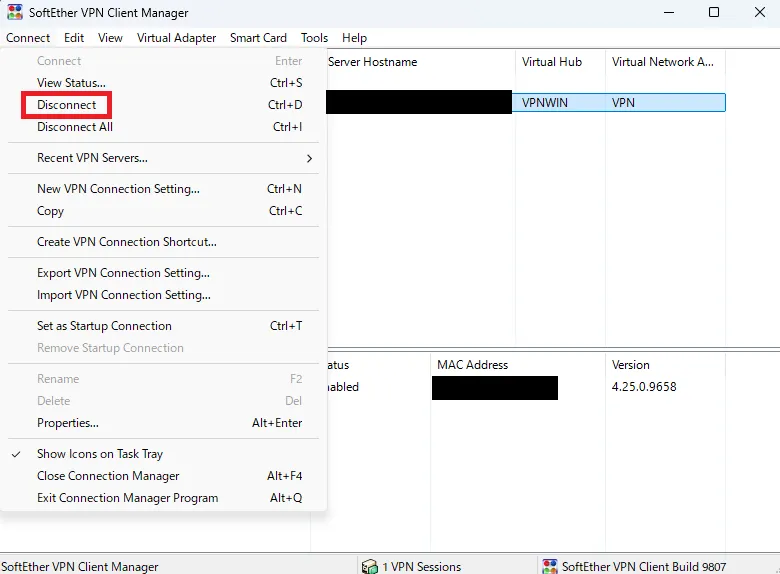
Step 6: Disconnect
-
- From the Connection menu, click Disconnect.
- From the Connection menu, click Disconnect.
Conclusion
You have successfully installed the SoftEther VPN Client, created a virtual adapter, configured your connection settings, and verified the VPN connection. With these steps complete, your client PC can connect to your VPN server whenever needed.
Once your VPN connection is confirmed, the next step is usually to connect to your Windows VPS over Remote Desktop. If you’re not familiar with RDP, the step-by-step guide below will walk you through the process.

Now that your VPN tunnel is working, it’s also important to review how you secure Remote Desktop access itself — from authentication to firewall rules.

![]()