

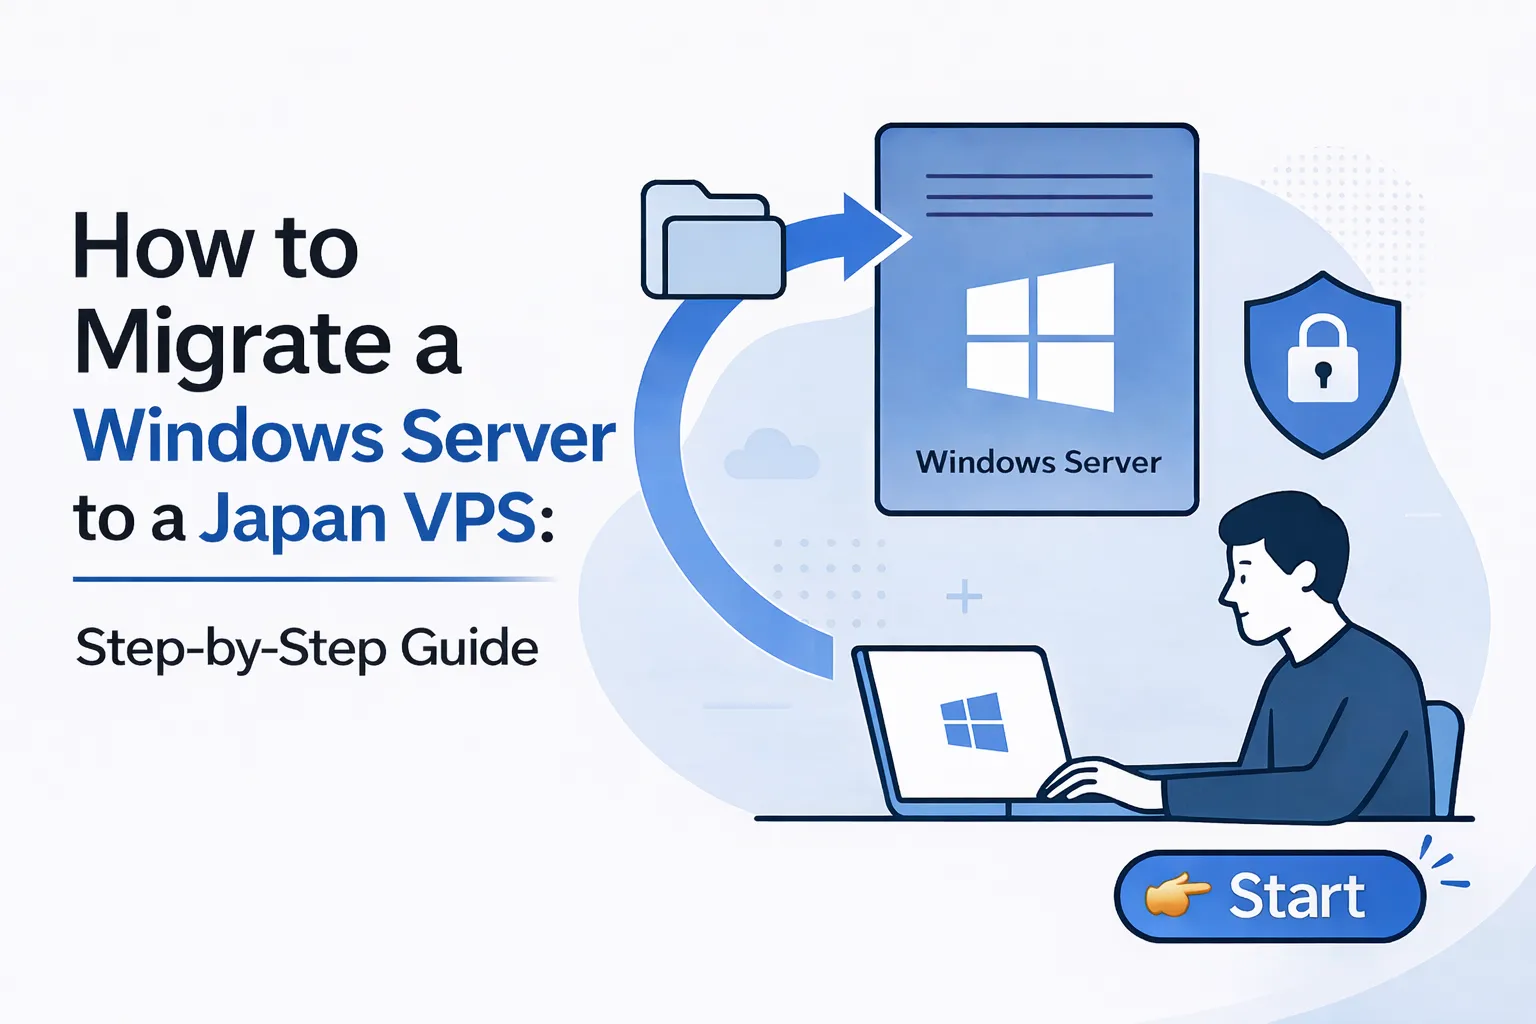
Looking to upgrade your current hosting to a more stable, secure, and high-performance VPS? Migrating to Winserver’s Japan-based Windows VPS is easier than you might think.
Whether you’re switching from another VPS provider or moving from an on-premise server, this step-by-step guide will help ensure a smooth migration experience.
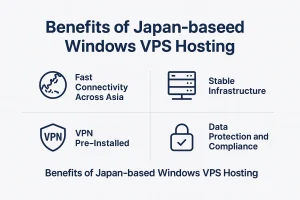
Why Migrate to Winserver?
- Hosted in Japan for low-latency access across Asia-Pacific
- Windows VPS plans with full administrator access
- VPN pre-installed from SSD-4G plans and up
- High reliability based on Japan’s stable hosting environment
- Flexible plans for businesses, developers, and remote teams
Step 1: Choose the Right VPS Plan
Visit our VPS Plans page and choose a plan that fits your performance needs.
If you’re unsure, we recommend the SSD-4G plan, which includes VPN pre-installed and is ideal for secure remote access and internal systems.
Step 2: Prepare Your Source Environment
Before starting the migration, gather the following information from your current server:
- OS version and system settings
- Installed applications and licenses
- Firewall and remote access rules
- Data backups (files, databases, emails)
It’s highly recommended to create a full backup before you proceed.
Step 3: Set Up Your Winserver VPS
After your Winserver VPS is provisioned, you will receive:
- Remote Desktop (RDP) login credentials
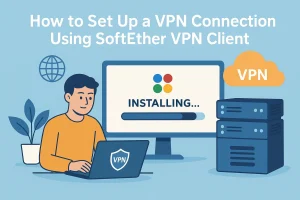
- VPN connection information (for SSD-4G and up)
- Admin-level access to install and configure applications
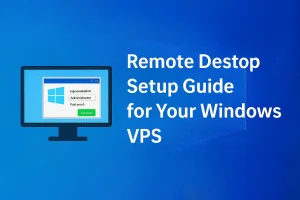
Log in via RDP and begin setting up your server. If using VPN, follow our setup guide for a secure connection.
If you’re new to managing Windows VPS instances over Remote Desktop, the step-by-step RDP guide below will walk you through the setup.
Step 4: Transfer Files and Data
You can migrate your data using one of the following methods:
- Remote Desktop: Transfer files via RDP
- Cloud Storage: Use OneDrive, Google Drive, or Dropbox
- FTP/SFTP: Set up a temporary server for large files
- Database Transfer: Export/import SQL dumps or use remote DB tools
Need help? Our support team is ready to assist you with the best method based on your setup.
Step 5: Test and Optimize
After transferring your data, test the following:
- Applications
- Firewall and port settings
- VPN connectivity
- Scheduled tasks and monitoring tools
We also recommend enabling automatic backups and server monitoring with our available tools and add-ons.
Step 6: Update DNS or Domain Settings
If you’re using a custom domain, don’t forget to update your DNS records (A, MX, etc.) to point to your new Winserver IP.
Note: DNS propagation can take up to 24 hours globally.
Need Help? We’re Here for You
Winserver offers friendly support throughout your migration process. If you need help, feel free to contact us — we’re happy to guide you every step of the way.
Conclusion
Migrating to Winserver is straightforward and secure. With Japan-based infrastructure, VPN-ready plans, and reliable Windows VPS hosting, you’ll enjoy improved stability and peace of mind.
![]()